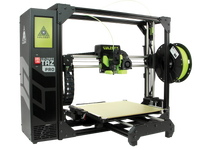

How to Calibrate the LulzBot TAZ Pro
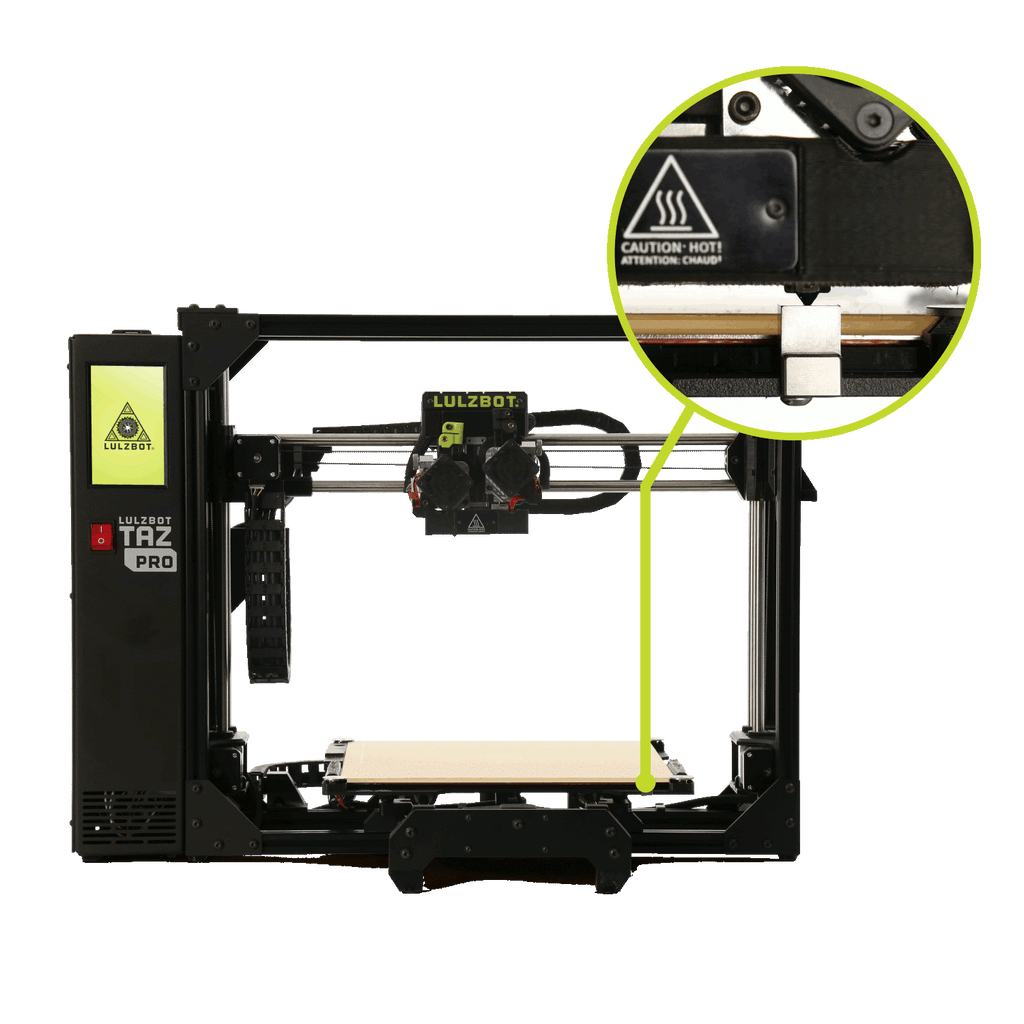

The new LulzBot TAZ Pro is an extremely versatile and accurate machine. It offers the ability to print a wide array of materials as well as with two materials at once. You may not also know that the machine has the ability to calibrate itself with impressive accuracy.
If you are having an issue where your nozzles are not making contact with the metalic pads during levelling, it may mean you need to run the calibration procedure. This tutorial will walk you through step-by-step how to run the nozzle calibration on the LulzBot TAZ Pro.
1) Ensure you have the latest firmware
The first step is to make sure you have the latest firmware version installed on the machine. Visit the Cura Lulzbot Edition website and check to ensure your version of Cura is the most recent. Once you have verified that you have the latest version of the software, make sure to update your firmware. Follow steps 4.1 - 4.3 in the quick start guide to learn how to update your firmware.
2) Ensure all filaments are unloaded
It is really important that the nozzles are squeaky clean and no filament will sneak out of the nozzle during the calibration process. For this reason it is highly suggested to first remove any loaded filaments from both extruders before starting the procedure.
3) Initiate calibration procedure
At this point you will simply select the following options from the menu on the printer: Menu -> Advanced Settings -> Nozzle Offset -> Measure Automatically
4) Let the machine run the calibration process and automatically store the data
That's it. You are done!